Using a hydration bladder allows you to explore and have great adventures anywhere! It’s such a nice piece of equipment to have, but what about when you have to take it apart and clean it?
The three simple steps to cleaning your Camelbak bladder are filling the bladder with a cleaner, scrubbing it down, and leaving it to air dry completely.
In this article, we’ll take you step by step through the stages of cleaning your Camelbak bladders, as well as what not to do. We’ll also provide you with some different cleaner options you can use to clean your Camelbak bladder.
Camelbak Bladder Cleaning Instructions
Here’s everything that you need to know to correctly clean your Camelbak and increase its lifespan.
Step 1. Soak the bladder
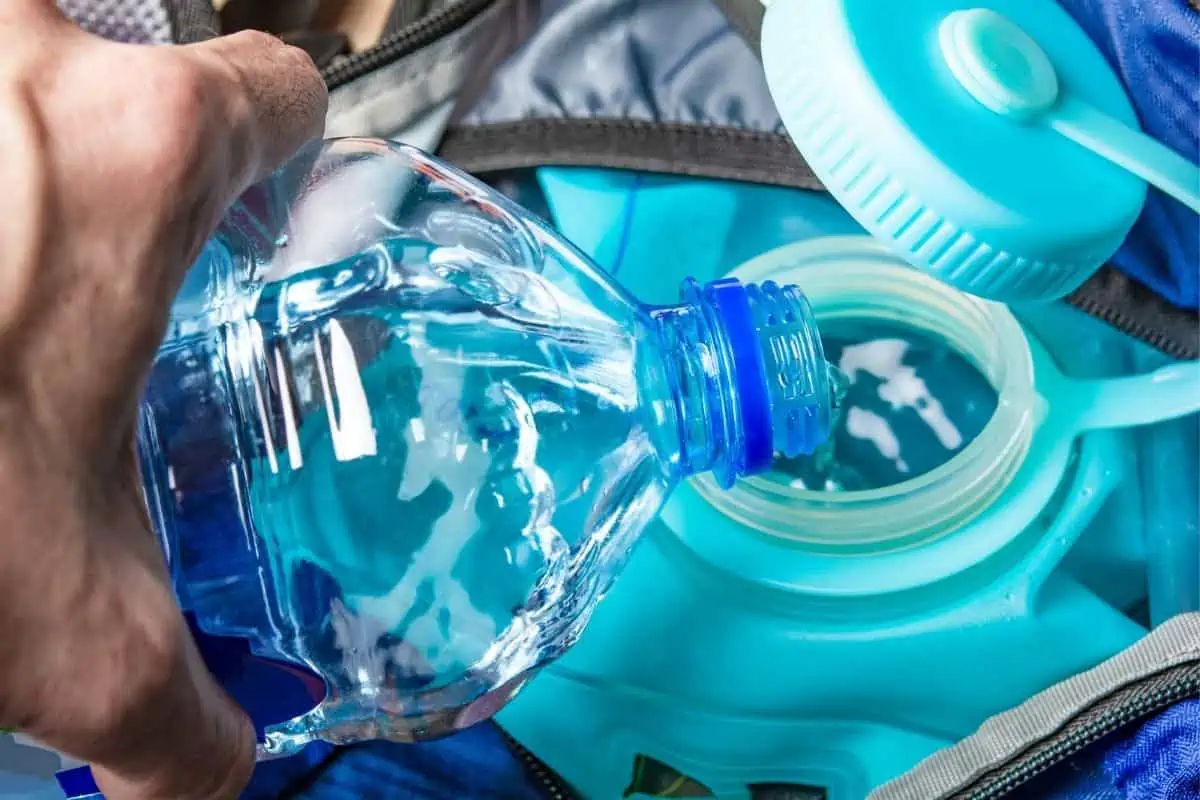
First, fill your Camelbak bladder with warm water from the tap, leaving room to add in your desired cleaning solution. Top the bladder off with more warm water to ensure the entire volume is filled. Raise the bladder up so that the tube drops down due to gravity.
Pinch the bite valve until the water and cleaning solution mixture comes out. This way you know that the cleaning solution is working on the entire system. Let your Camelbak bladder soak for about five to twenty minutes.
Step 2. Scrub and rinse
Drain all the water and cleaning solution from the bladder by emptying some through the tube via the bite valve and the rest by dumping it out of the main opening. Fill the bladder with warm water again plus a few drops of dish soap. Again, squeeze the bite valve until water runs from it so that you know it’s in the tube.
Use a scrubbing pad or a bottle brush to scour the inside of the bladder. Remove the bite valve to scrub it separately. Take a cord that is longer than the tube and will fit snugly inside when you put a knot in it and feed it through the tube to scrub it out.
Rinse every part – bladder, tube, and bite valve – with clean warm water until no soapy suds remain.
Step 3. Let it air dry
Set the bladder upright to dry in a dish drying rack, ensuring that no standing water is pooled inside. Drape the tube over a hanger or bar to encourage water droplets to drain out due to gravity. Set the bite valve in the dish drying rack to air dry as well.
What Should I Avoid Doing When Cleaning My Camelbak Bladder?
Don’t use boiling hot water for any stage of cleaning your Camelbak bladder. While it will not hurt the bladder, it could hurt you and you don’t need the water that hot in order to get the bladder thoroughly clean.
Don’t let the water and cleaning solution sit for more than the allotted time. The cleaning solution may start to leach into the bladder and tube which, depending on what you use for cleaner, could start breaking down the material.
Don’t let your bladder, tube, and bite valve air dry in a humid environment. This could allow mold and mildew to grow inside any of these parts and make you sick when you try to use your Camelbak bladder again.
What Kind of Cleaning Solutions Can I Use for My Camelbak Bladder?
There are a few different options when it comes to cleaning solutions to use for your Camelbak bladder. There are specialized tablets made for cleaning bladders and tubes that, when dissolved in water, will help lift any deposits that may build up in the equipment. Denture cleaning tablets can also achieve the same end.
Baking soda mixed with water as a three to one solution is an effective cleaner and helps remove any odors. Unscented bleach also works if you mix two to five drops per liter of water. For a doubly effective cleaner, you can combine baking soda and bleach mixtures together.
A quarter cup of lemon juice mixed with a liter of water can also help clean and eliminate odors. This can also be used in combination with baking soda and/or bleach. The mixture of baking soda and lemon juice will produce a fizzy solution so make sure to hold the opening of the bladder away from you before combining them.
Final Thoughts
It’s important to thoroughly clean your Camelbak bladder so that when you use it, you are hydrating with clean, healthy water. It does not take much time or effort to clean your Camelbak bladder and you don’t need to spend a lot, if any money, on cleaning supplies.
There are different steps required if you’re using it for the first time, so check out this helpful guide on first time usage.
The basics of cleaning your Camelbak bladder include soaking it with a cleaning solution, scrubbing it with soapy water, thoroughly rinsing it out, and letting it air dry. There are plenty of cleaning solution options and most of them are materials you may already have in your kitchen pantry.
There are a few practices to avoid when cleaning your Camelbak bladder, but overall, the process is easy, quick, and painless.