Cleaning your hiking boots is important, but it can be a hassle. You have to find the right soap or cleaner, make sure you are doing it correctly, and then dry them off so they don’t get smelly.
Well, I’m here to tell you that there’s an easier way.
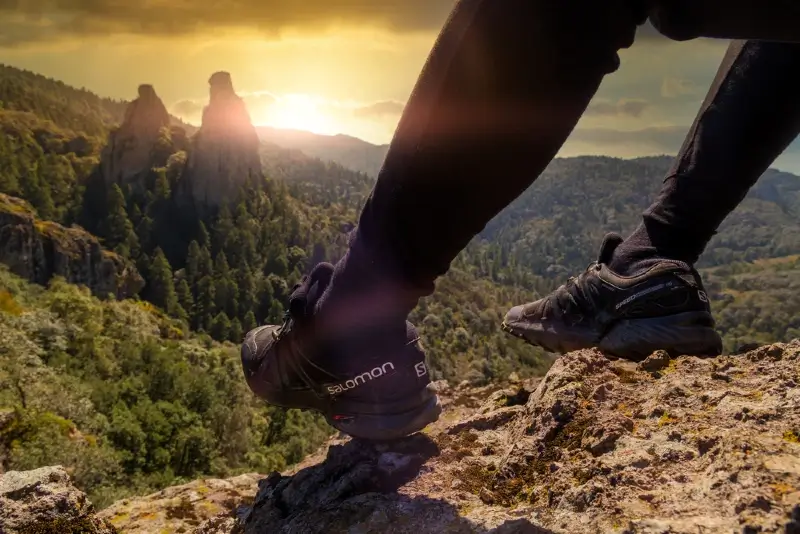
This blog post will teach you 6 steps on how to clean your Salomon hiking boots so they look shiny and new.
How To Clean Your Salomon Hiking Boots
Step 1 – Prepare Your Cleaning Station
Prepare your workspace by laying down old newspapers in an area where you usually stand when you remove your boots, this will help prevent a mess from being made while cleaning the boots.
Prepare all the necessary cleaning products such as cotton cloth and cleaning spray.
Step 2 – Remove Shoe Laces
Remove the laces from your hiking boots and set them aside to be used later on. This will make it easier to clean the inside of the boots. If you have removable insoles you should also remove those before moving on to the next step.
Step 3 – Apply Cleaning Spray
Spray a generous amount of Salomon’s cleaning spray onto a cotton cloth and gently wipe down the entire surface of both boots, pushing dirt away from the midsole or sole.
Go underneath the rubber rand that is found around the shoe, clean off any stubborn dirt with minimal scrubbing for tough areas that need extra attention.
Step 4 – Scrub Using a Brush
Using a nylon brush with soft bristles, scrub the entire boot in an up and down motion for 20 seconds or so, helping to remove any additional dirt that may have been missed during step 3.
Step 5 – Apply a Second Round of Spray
Apply another generous amount of Salomon’s cleaning spray onto your boots when you are done with the previous step.
Adding a second application of cleaner will help break down any excess dirt that was not removed in your previous attempt which prevents further cleanings from being needed unless it is really needed.
Step 6 – Leave Them to Air Dry
Allow your hiking boots to completely dry before wearing them again. This can be done by either air drying them or leaving them outside until the leather material is dry.
You can also use a vacuum to remove dirt from your Salomon boots, but this method might damage the boots if you don’t know what you’re doing.
In other words, it is best not to use a vacuum because that would be an easy way out and could end up ruining your boot after a while.
Don’t forget to re-lace your Salomon hiking boots after they have been cleaned so you can start using them again. We hope this was helpful in teaching you how to clean your Salomon hiking boots.
What to Avoid When Cleaning Your Salomon Hiking Boots
To make sure that your Salomon hiking boots stay in good shape for next time, make sure to clean them when you get back. But there are ways to do it better and ways to do it wrong – find out what these mistakes are below.
1. Using the Wrong Products
If you’re looking to clean your boots in-depth, it’s best not to use dish soap or shampoo. These would kill any bacteria on your shoes but would be difficult to properly rinse out, damaging them over time.
Instead, look for a cleanser specifically designed for footwear.
2. Scrubbing Too Hard
When you’re cleaning off mud and dirt from the outside of your boot, make sure not to scrub too hard. If you’re rubbing a lot, it can damage the fabric and reduce its lifespan.
Instead, use a scrub brush that has soft bristles or even just your hands, being careful not to harm your footwear with too much pressure.
3. Leaving Them Out in The Sun
The heat from the sun can cause your shoes to dry incorrectly – which can ruin them over time. Try to avoid placing boots anywhere they’ll be exposed to sunlight for an extended period of time – this means no sunroofs or car windows.
Any leather-based footwear should never be left out in very hot conditions, as it will dry them out and cause cracks in the material.
Also, keep in mind that direct sunlight is easily able to fade color so never leave your boots in direct sunlight unless you want them to be very light-colored.
4. Using Water or Chemicals That Are Too Cold
When you’re cleaning your boots, never use water that is below room temperature. If it’s really cold, this can cause damage to the material and warp its shape.
Also, if they’re covered in mud/dirt you need hot water for this to dissolve properly.
5. Failing to Air Dry Them Afterward
Before letting any footwear sit out somewhere post-cleaning, always try to let them dry out – by leaving them in a cool, dry area away from direct sunlight or heat.
When you let the boots air out somewhere, this will prevent damage from occurring and prevent forms of mildew from forming, which can ruin any material it comes in contact with.
And if your waterproofing doesn’t work as well as it had before already (due to regular wear and tear) you’ll want to avoid getting water on them again as soon as possible.