Hiking boots are great, but you never know when you are going to come across wet terrain. Surprise showers, leftover mud, or just crossing a river, there’s no one out there who likes to wear hiking boots that let water get into your socks.
So, how can you waterproof Salomon boots that aren’t inherently waterproofed?
Thankfully, the process isn’t terribly difficult, and it’s something that you absolutely can do at home, with just a few products and steps. Barring a freak occurrence, the entire process of waterproofing your hiking boots should only take a few hours.
Steps for Waterproofing Your Salomon Boots
Step One: Acquire the Correct Waterproofing Option
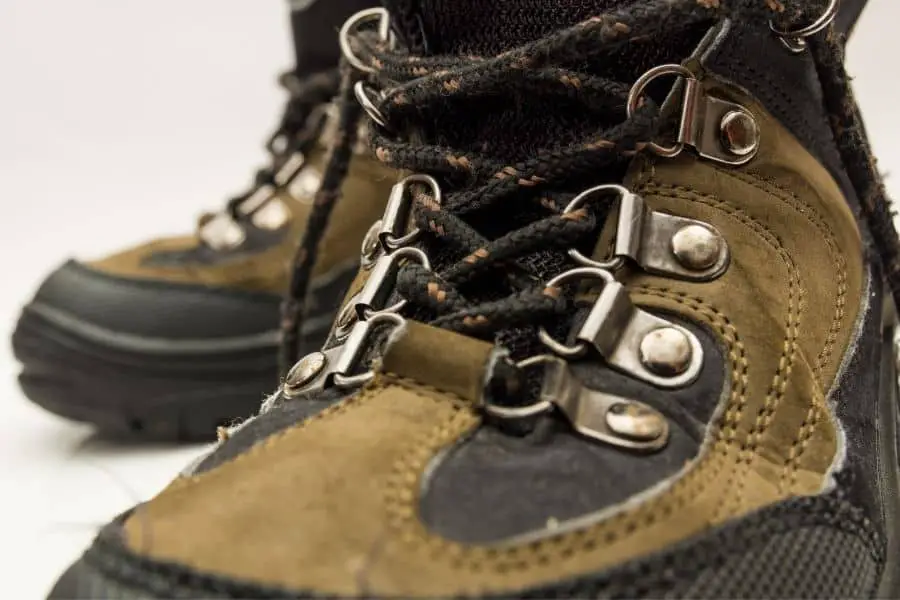
There are several types of waterproofing options out there, with some being designed for particular boot materials. For instance, some waterproofing treatments are specifically for full-grain leather, while others are for rough leather such as nubuck or suede.
So, first, make sure you know what type of material your boots are made out of. Then carefully read the description of waterproofing products while shopping for them to ensure that you are selecting the correct option for the best results.
Wax waterproofing was pretty common in the past, and it is still acceptable today, but avoid wax treatments if you want to have an easier time fixing or resoling your boots in the future. Wax residue makes it harder for a new adhesive to bind with a new sole.
Step Two: Clean Your Salomon Boots
When you waterproof something, you are adding a sealing layer on the outside of the boots that will keep the water out. But that means you will be trapping anything currently on your boots underneath that sealing layer if you don’t get rid of it first. That being the case, make sure you clean your boots before doing anything else.
As for how you should clean your boots, clean water is the first way to go, since it will be more than enough for caked mud and the like. For more stubborn stains and marks, you will likely want to purchase a technical footwear cleaning gel. Shake the gel well and apply it generously to dirty spots, allowing it to foam.
You may need to use a stiff nylon brush to scrub at the stains along with the technical gel. Scrub as hard as you need to get rid of any stains, and when you are done, simply rinse your boots clean with water. Now we can get onto the actual waterproofing process.
Step Three: Dampen Your Salomon Boots
For the best results of adding a waterproofing seal to your boots, the boots themselves need to be damp on the outer surfaces. If you just finished cleaning your boots, they may still be damp already, providing exactly the environment you need. But if you didn’t jump into the waterproofing step immediately after cleaning your boots, they may be dry again.
Keep in mind that the very leather of your boots needs to be saturated. It’s not enough to just have water on the outer surface. This can take some time, so you may elect to wrap your boots in a wet towel and leave them in the sink for a few hours. One way or another, make sure your boots are damp before attempting to waterproof them.
Step Four: Apply Your Waterproofing Treatment
There is no universal way to waterproof your gear, as different products have different means of doing so. The good news is, there should be instructions included with whatever waterproofing option you bought, usually on the container. Just follow the instructions to the letter, and you should have no issue waterproofing your boots.
Keep in mind that, if any part of your boots is Gore-Tex or some alternative waterproof or breathable membrane, you do not need to apply any waterproof treatment to those sections of your Salomon boots. Just clean the fabric of those sections.
Step Five: Allow Your Salomon Boots to Dry
Once the waterproofing has been applied, you will have to let your boots dry before the process is complete and you can wear them again. Unfortunately, you can’t (or at least, shouldn’t) try anything crazy, such as putting your boots in the dryer. In fact, do not use any type of heat source, including a dryer or hair dryer.
You should dry your boots at a normal temperature in an area with low humidity. Don’t set them out to dry anywhere that is hot, damp, or unventilated. To speed up the drying process, place your boots in front of a normal fan (such as a desk fan or standing fan). You can also stuff the boots with newspapers to absorb water, but make sure you change them out regularly.
Once your boots are completely dry, congratulations! You have successfully waterproofed your Salomon boots. There is nothing else you need to do at that point.
Final Thoughts
Having waterproof boots can help increase the durability and lifespan of your outdoor gear. Following the guide above should help you waterproof your Salomon hiking boots, even if they weren’t water-resistant in the first place.
Make sure to avoid soaking the boots before applying your treatment, otherwise, the waterproof capability will be reduced!