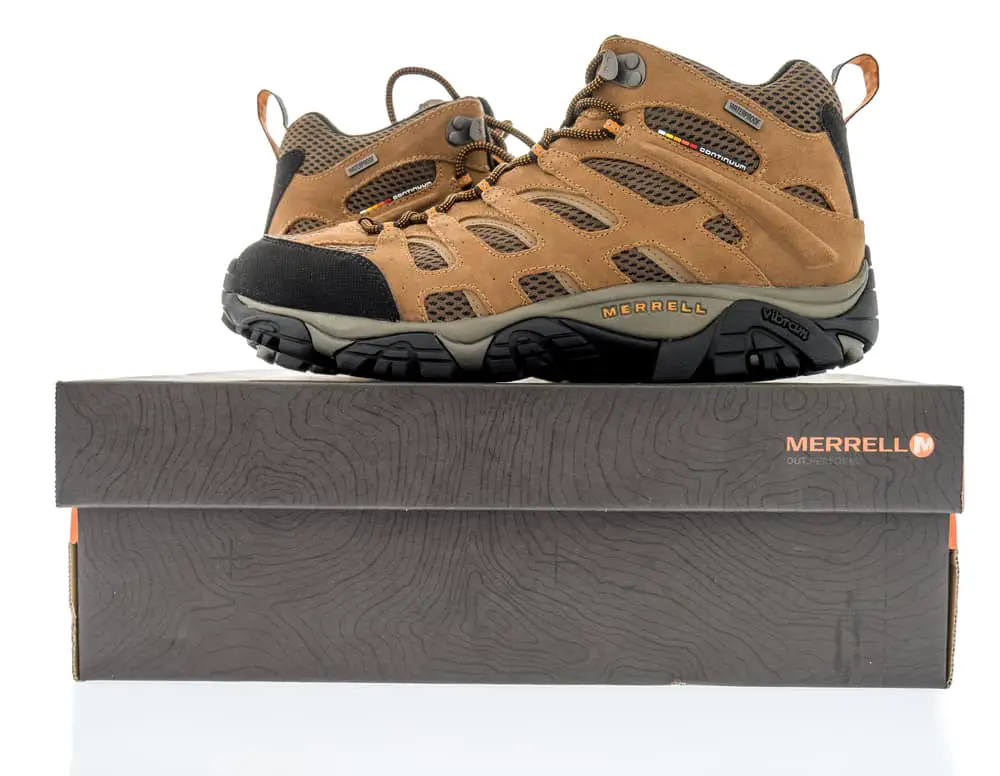
Merrell is one of the leading hiking boot brands in the market and is known for making some of the best waterproof-breathable footwear around. Their hiking boots are well known for their comfort and quality construction, but what happens when they get wet?
Waterproofing your Merrell hiking boots is a simple process that can save you from the frustration of walking in wet shoes.
You may be tempted to think that if it’s raining, then there is no need for waterproofing because water will bead off these materials like rain off an umbrella (and this does happen sometimes). Still, hikers often find themselves walking through puddles or crossing streams where this doesn’t happen.
In light rain, it’s not a big deal, but in heavy downpours or snowmelt, hikers can find themselves with wet feet and the discomfort that goes along with it.
It’s important to maintain them properly, so your feet stay dry all day. It’s not too hard to waterproof Merrell hiking boots; all it takes is a little bit of time and effort.
Waterproofing Instructions for Merrell Boots
Having dry boots is important if you want to stay comfortable while hiking or walking around. Follow these easy steps to make sure your feet never get wet while wearing Merrell boots.
Remove the Insoles From Your Boots
This may require a screwdriver or knife to pry it apart. Just be careful not to damage anything in the process if you don’t have full control over these objects.
You can try using a small flat-head screwdriver and wedging it in between the side of the boot and lining. Once you remove your insoles, place them somewhere safe where they won’t get damaged or dirty.
Clean the Outside Surfaces
Use rubbing alcohol and a cloth to clean all surfaces of both boots that will come into contact with the new sealant. For best results, allow the boots to dry for twenty-four hours, leaving no moisture on them before sealing.
Please do not use too much force, as this may damage the material or make it fuzzy-looking. Move-in small circles and try to get all debris off with whatever tool you have available.
If there is any dirt on top of your shoes that cannot be removed by light brushing, consider applying a bit more wax over these areas, so they aren’t visible when dry.
Apply Water-Resistant Sealant
Use a spray type of sealant instead of the liquid kind. Spray on all surfaces and allow them to sit for five minutes before you apply another coat. This will make sure they are fully covered.
Allow five to fifteen minutes for the sealant to dry, then apply a layer of waterproofing onto both boots evenly with a brush or cloth.
Make sure to get the edges and seams as well. Try not to apply the extra sealant onto your insoles, or it will prevent them from absorbing moisture properly in future uses.
Apply Waterproofing Material
Apply a layer of waterproofing onto both boots evenly with a brush or cloth and let it sit overnight so it can get tacky (if you try to walk in wet sealant, then they won’t stick properly).
Apply another coat if necessary; most people will need two layers, but some may require three depending on how much wear and tear your hiking footwear has endured in its lifetime.
On the Merrell site, they offer their Rain & Stain waterproofing spray which is an easy to use product and can help boost the level of water resistance.
There are plenty of other sprays that can be used, but the safest product to use on Merrell Boots would be that specific repellent.
Let The Boots Dry Overnight
The boots must dry completely between coats, so leave some time in between each application if at all possible (overnight is best). Repeat as many times as necessary until no water penetrates your waterproofing layer, and the insoles aren’t absorbing any moisture from outside either.
It would be best if you were getting somewhere around three or four applications depending on how thickly applied everything is; it’s better to do more than less because thin layers can fail after one soaking, whereas thicker ones cannot be penetrated as easily.
Replace Your Insoles
Replace the insole after you’ve finished applying all layers of waterproofing on your hiking boots, and let it sit overnight again so that it can get tacky. This is important because if there are some areas where moisture can seep through without being sealed, they will be protected by the new coat of waterproofing.
Repeat Above Steps When Necessary
Continue to waterproof all new boots and reapply coats that have worn off on a semi-regular basis (every couple of months or so) until the rubber no longer looks smooth and shiny. Then it’s time for new shoes. This will depend on how often you use your hiking footwear, but it’s time for a new pair once the water resistance begins to fade.
Tips for Protecting Your Merrell Boots
Make sure the waterproofing spray is safe to use on the material of the boot- Certain products can actually damage your boots depending on what material the outside layer is made of.
Don’t apply any treatments too frequently – Most of these waterproofing treatments should only be applied every few months at a minimum. If you use these repellents too often it can lead to damage, and will usually reduce the overall lifespan of the boots.
Final Thoughts
This way, you can get more out of your hiking footwear without sacrificing comfort or performance, but make sure to follow these instructions carefully because protecting against water damage isn’t as easy as many people assume.
If you’re unsure of which items are safe to use on your pair of Merrells, always consult their website of customer service to get the best protection available against water.


